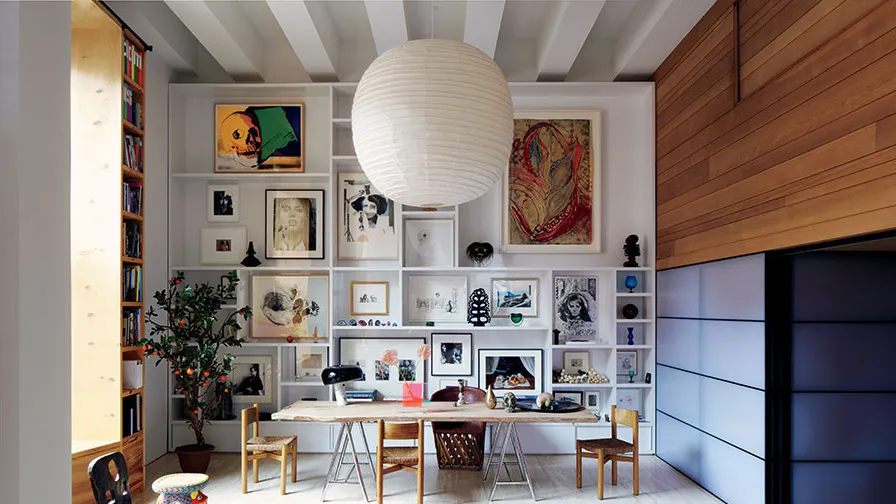
Creating a gallery wall is an excellent way to personalize your space and showcase your favorite memories, artwork, and photographs. Whether you're looking to add character to your living room, bedroom, or hallway, a well-designed gallery wall can transform a blank canvas into a stunning focal point. In this comprehensive guide, we'll explore everything you need to know about creating the perfect gallery wall, from planning and layout to execution and styling.
Planning Your Gallery Wall
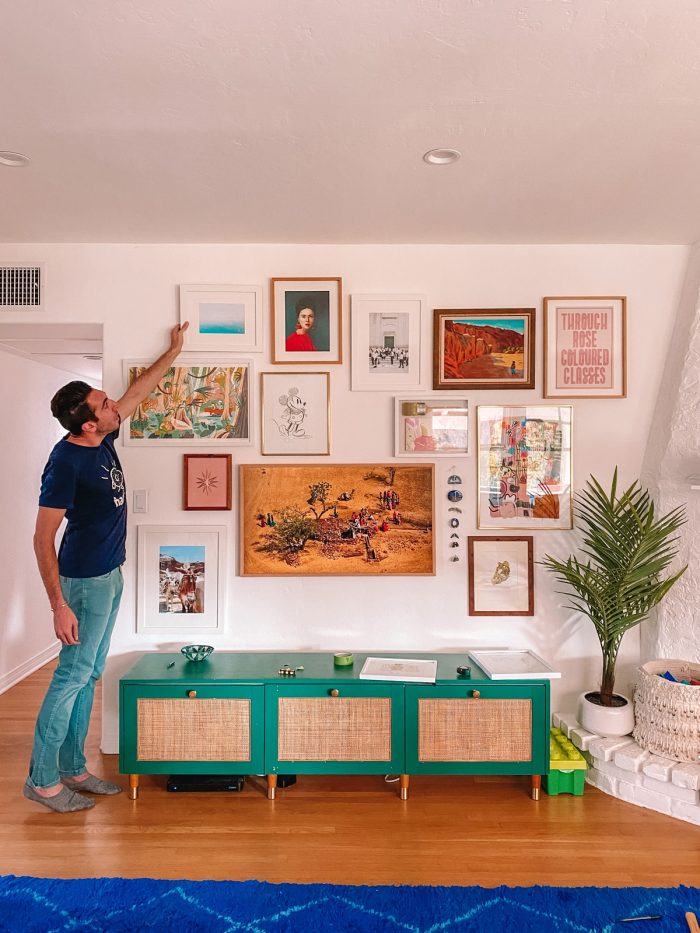
Choosing the Right Wall
The first step in creating a gallery wall is selecting the appropriate wall space. Look for a wall that's large enough to accommodate multiple frames and has good visibility. Avoid placing a gallery wall next to something busy, as it may create visual clutter. Some ideal locations for gallery walls include:
- Ascending up a staircase
- A blank wall in the primary bedroom
- An empty wall space in a living room
- Above a sofa or sideboard
Determining Your Style
Before you start hanging frames, it's essential to consider the overall style you want to achieve. Gallery walls can range from formal and symmetrical to eclectic and free-form. Some popular styles include:
- Symmetrical Grid: A clean, modern look achieved by using identical frames arranged in a perfect grid.
- Eclectic Mix: A more relaxed style that combines different frame sizes, colors, and art styles.
- Salon-Style: A maximalist approach that covers the entire wall with a mix of frames and objects.
- Minimalist: A sparse arrangement of carefully curated pieces with plenty of negative space.
Gathering Your Art and Frames
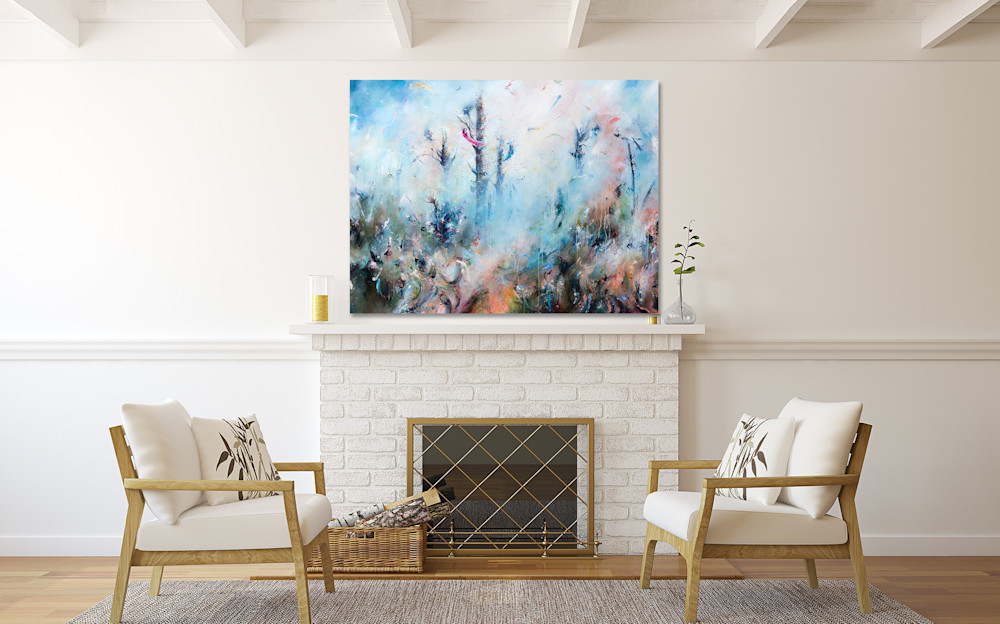
Once you've determined your style, it's time to collect the pieces for your gallery wall. Consider including:
- Family photographs
- Artwork (prints, paintings, drawings)
- Vintage posters
- Children's artwork
- Memorabilia (concert tickets, postcards)
- Decorative objects (small mirrors, wall sculptures)
When selecting frames, you can either opt for a cohesive look with matching frames or create visual interest by mixing different styles and finishes. If you're going for an eclectic look, try to repeat colors across your pieces 2-3 times to tie everything together.
Creating Your Layout
The Floor Layout Method
One of the easiest ways to plan your gallery wall is by arranging your pieces on the floor first. This method allows you to experiment with different layouts without putting holes in your wall:
- Clear a large floor space and mark out the dimensions of your wall with painter's tape.
- Start with your largest piece and place it slightly off-center.
- Build around the large piece, mixing horizontal and vertical orientations.
- Step back frequently to assess the overall balance and composition.
The Paper Template Method
For a more precise approach, try the paper template method:
- Trace each frame onto kraft paper or newspaper and cut out the shapes.
- Use painter's tape to attach the paper templates to your wall.
- Adjust the arrangement until you're satisfied with the layout.
- Mark the hanging points on the paper templates.
This method allows you to visualize the exact placement of your frames on the wall before committing to any nail holes.
Hanging Your Gallery Wall
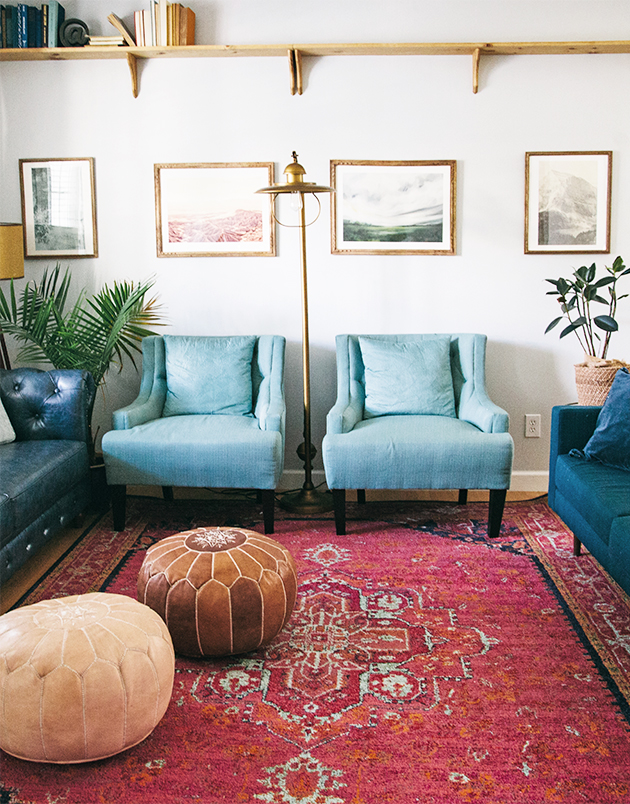
Tools You'll Need
Before you start hanging your gallery wall, gather the following tools:
- Hammer
- Nails or picture hangers
- Level
- Measuring tape
- Pencil
- Painter's tape
Hanging Techniques
To ensure your gallery wall looks professional and stays secure, follow these hanging techniques:
- Start with the largest piece: Hang your anchor piece first and build around it.
- Use a level: Ensure each frame is straight using a level.
- Mark nail positions: Use the tape ball trick to mark where nails should go.
- Double-check measurements: Measure the distance between frames to maintain consistent spacing.
- Secure heavy items: Use appropriate wall anchors for heavier pieces to prevent them from falling.
Styling Your Gallery Wall
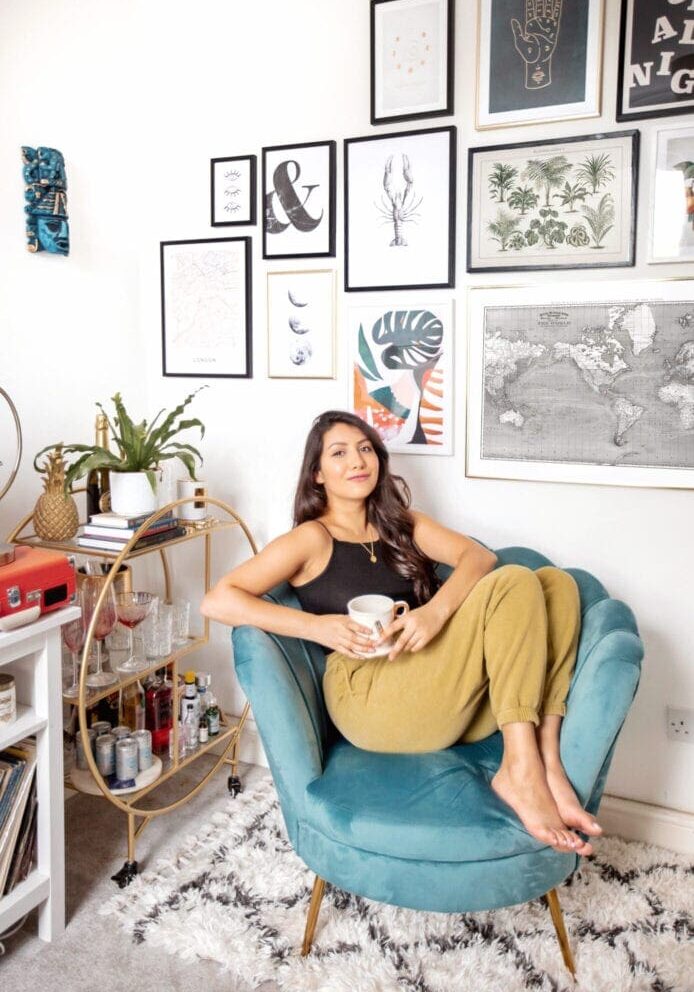
To add depth and interest to your gallery wall, consider incorporating a variety of elements:
- Mixed media: Include paintings, photographs, and prints for visual variety.
- Dimensional objects: Add texture with small sculptures, woven baskets, or decorative plates.
- Personal touches: Incorporate family heirlooms, children's artwork, or travel souvenirs.
Conclusion
Creating a gallery wall is a rewarding project that allows you to express your personality and showcase your cherished memories and art. By following these guidelines for planning, layout, hanging, and styling, you can create a stunning gallery wall that becomes the centerpiece of your home. Remember, there's no one-size-fits-all approach to gallery walls – the most important thing is that it reflects your unique style and tells your story. So gather your favorite pieces, unleash your creativity, and start designing a gallery wall that will bring joy and character to your space for years to come.
